
Uploading Photos During The Event
As time permits between photo shoots and/or the end of your event, be sure to upload all photos to your digital storage platform of choice.
Additionally, if using a cell-phone camera, make sure to track storage capacity on any cell-phones used. Not everyone will have unlimited storage on their phones, so you may need to periodically stop to upload images, even if there is a line of people waiting for photos. You can explain to the contributor and guide that you need a moment to upload.
Verify that all the images have uploaded fully before deleting any images from your device, especially when doing so to make additional space.
Uploading photos to Google Drive on an iOS Phone
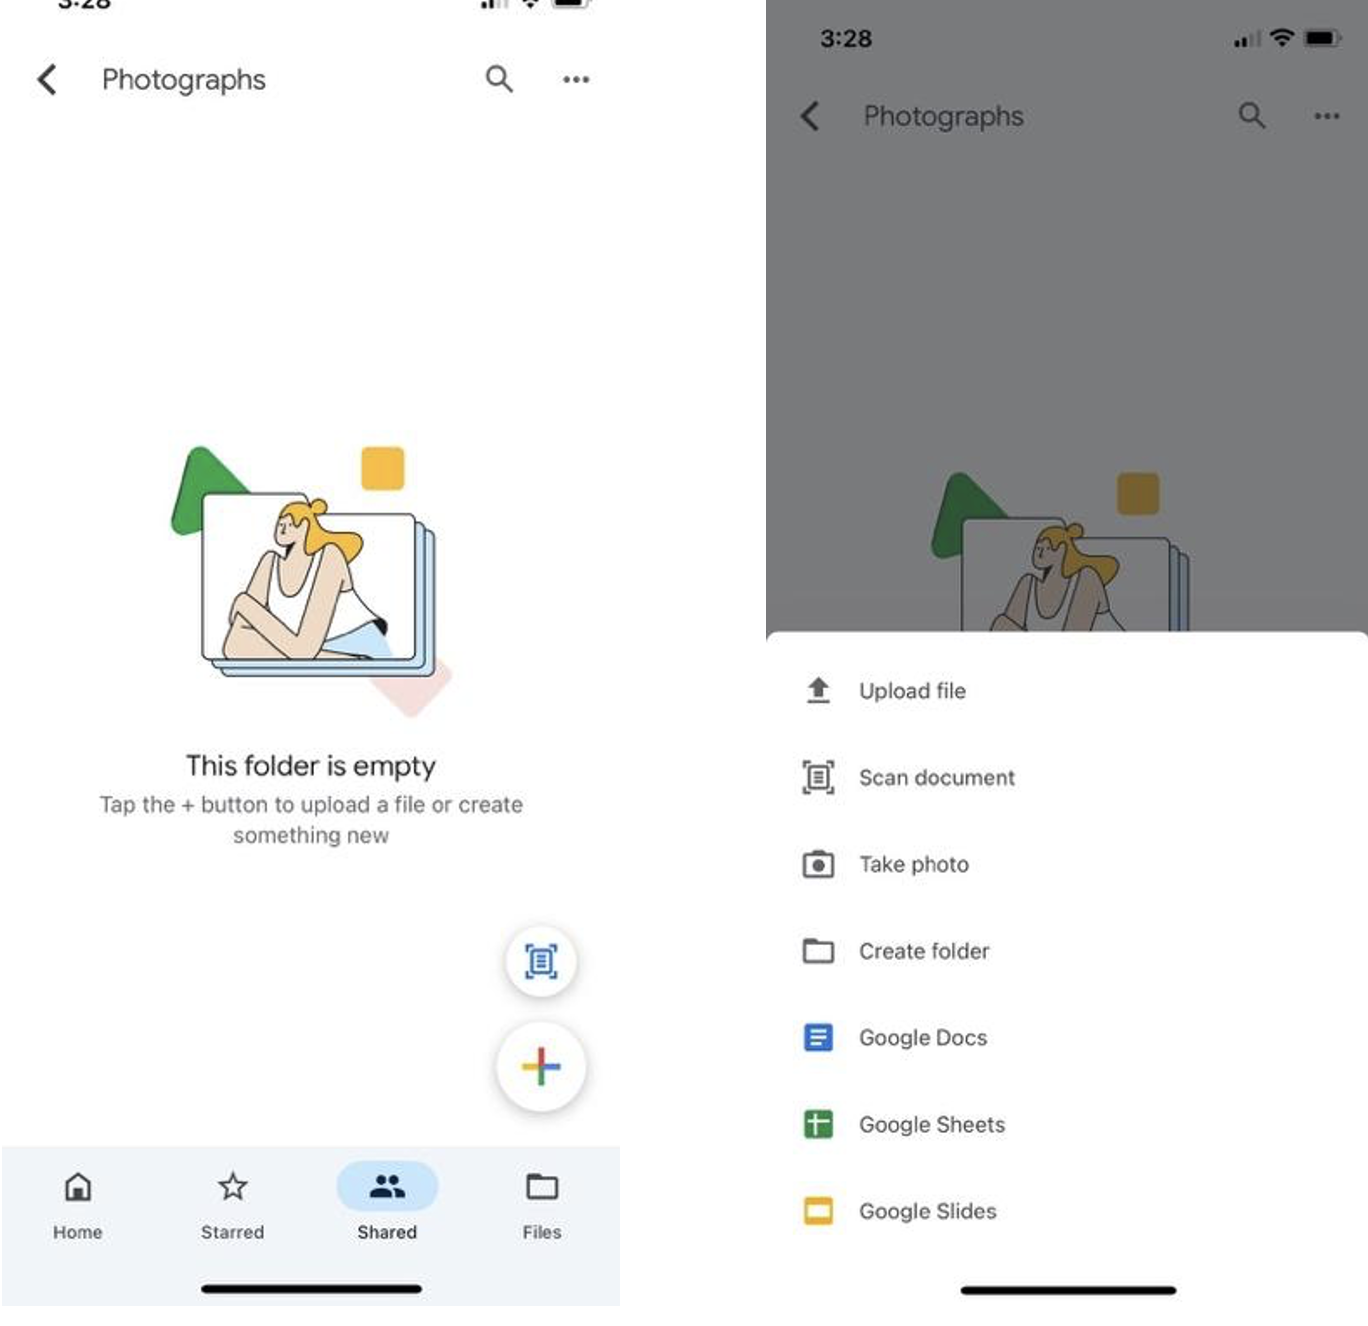
- In the Google Drive app on your phone, find the folder you are using for photo storage.
- The app will ask you whether you want to “Allow Full Access” or “Limit Access” to your Camera Roll. We recommend that you Allow Full Access to more easily upload older images in your photo library.
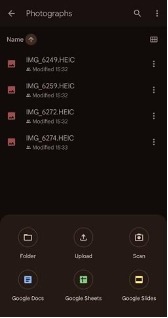
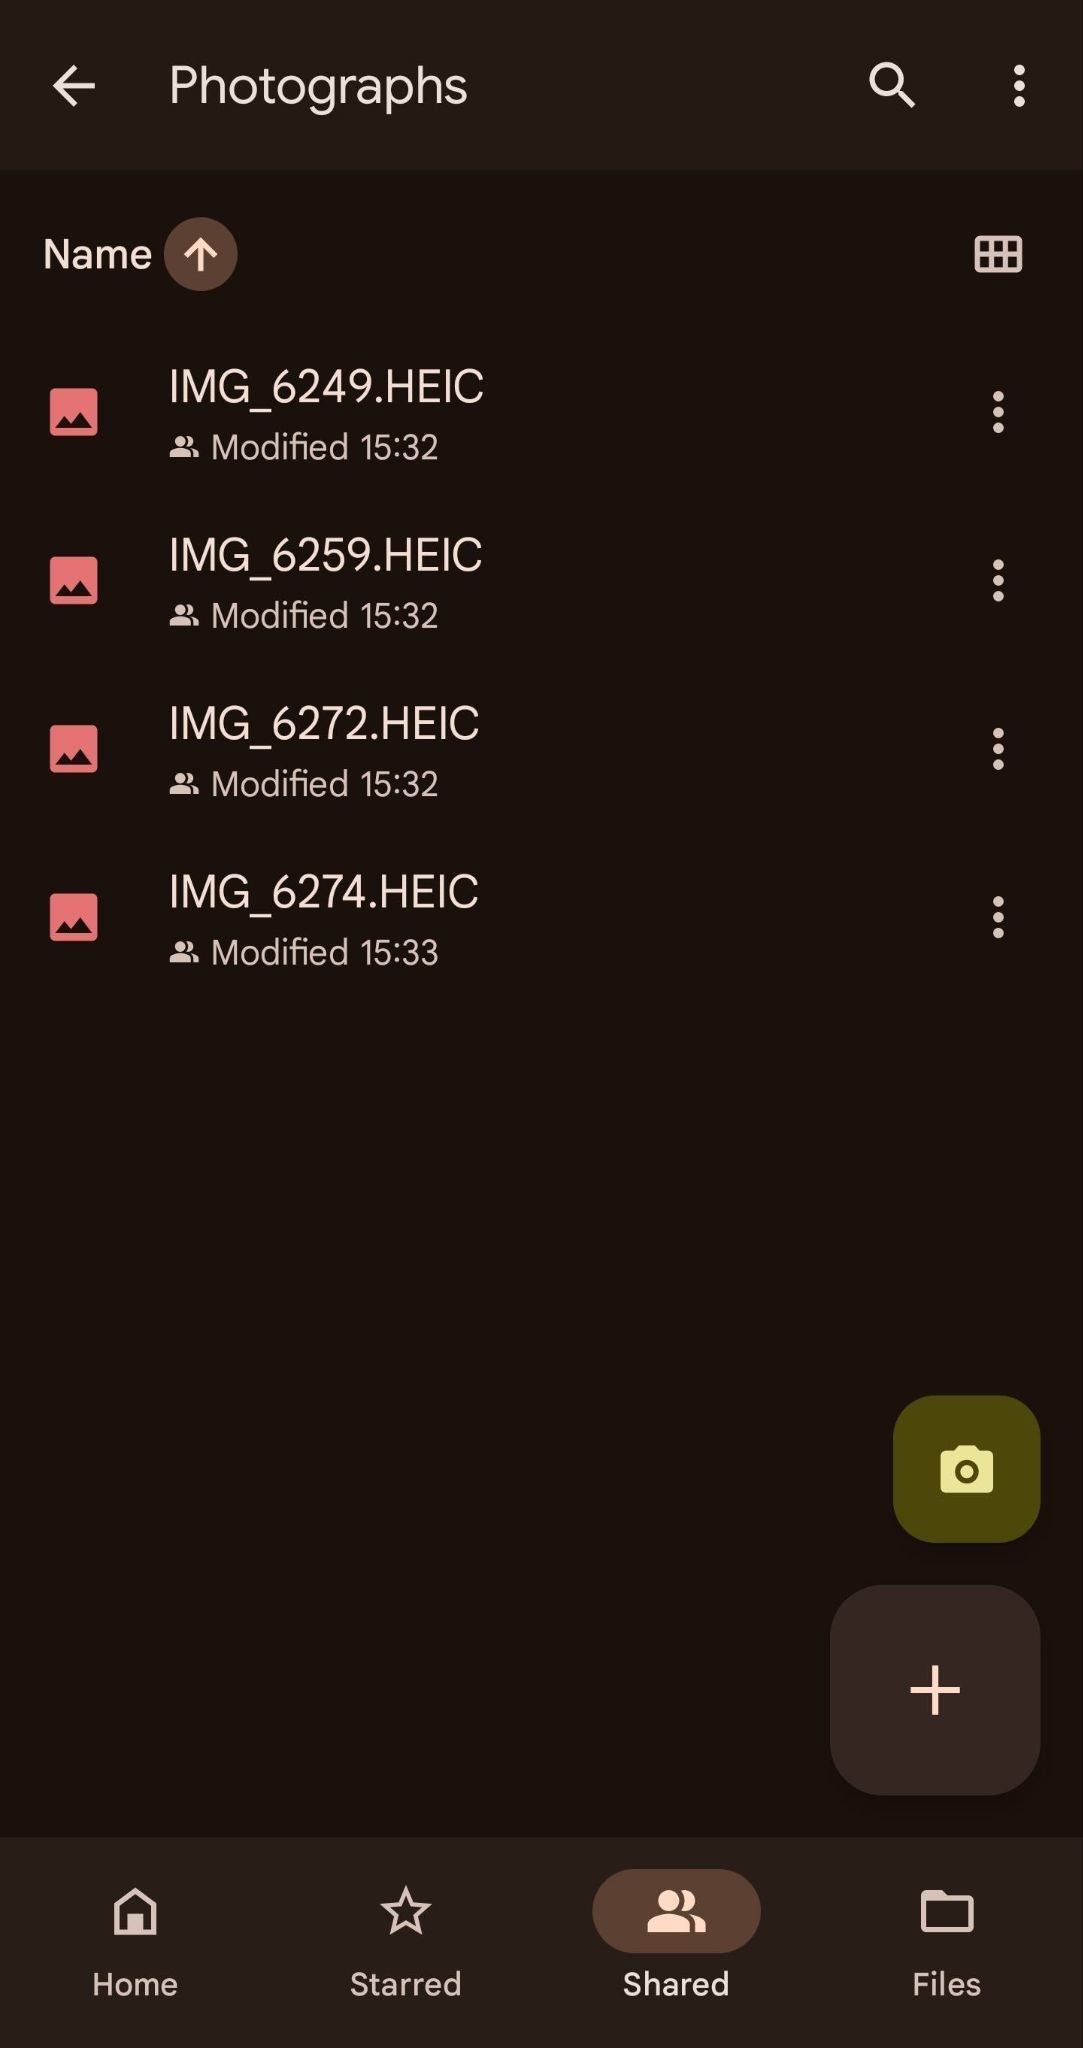
- In the “Photographs” folder, click on the + (bottom right) to add images to this folder.
- Select “Upload file”
- Select “Photos and Videos”
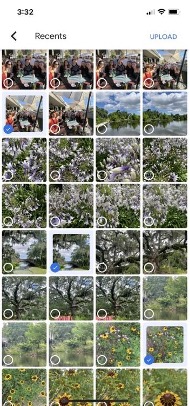
- Select “Recents”
- Select one or more files (click on photo, blue checkmark will appear)
- Select “Upload”
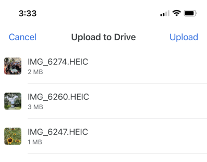
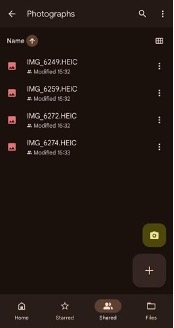
- Your images should now be visible in the shared “Photographs” folder.
- Select “Upload file”
VERIFY that all the images uploaded fully before you delete images from your phone.
Uploading photos to Google Drive on an Android Phone
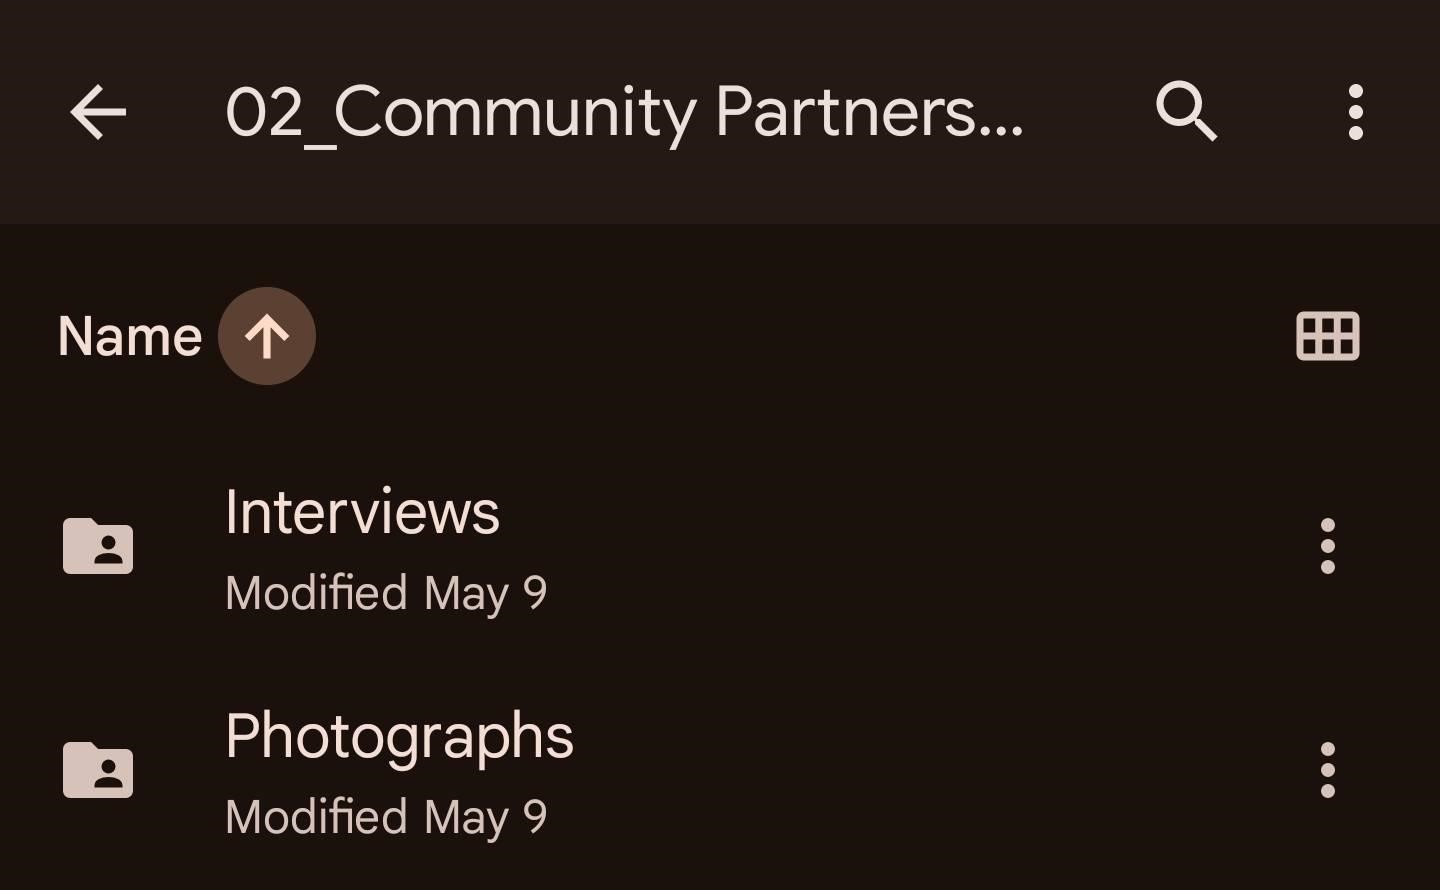
- Using the Google Drive app, navigate to the folder where you want to save the photo(s)
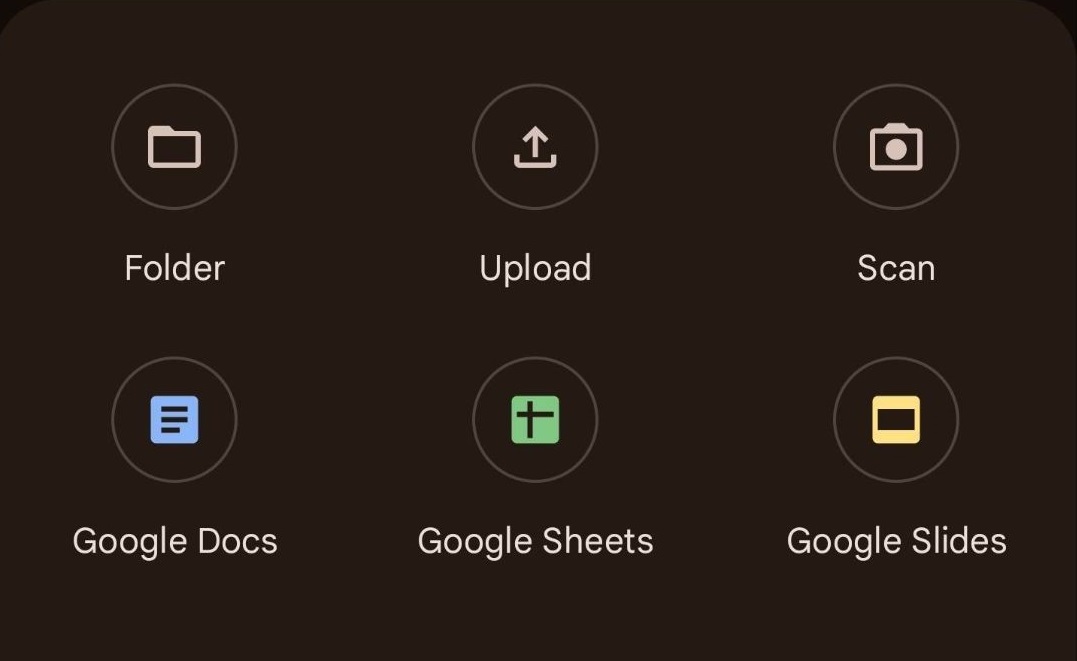
- Once in this folder, click the + in the bottom right to add images to this folder.
- After you have clicked the “+”, select “Upload”
- From here, there are a few ways you can select the image you will upload.
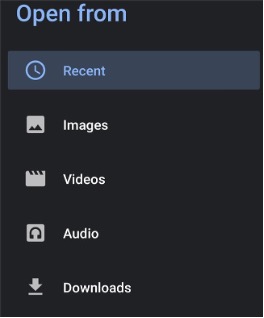
- Using the menu button in the top left corner, select “Recent,” if the upload does not default to this folder. From here, you should be able to select the image you are looking for.
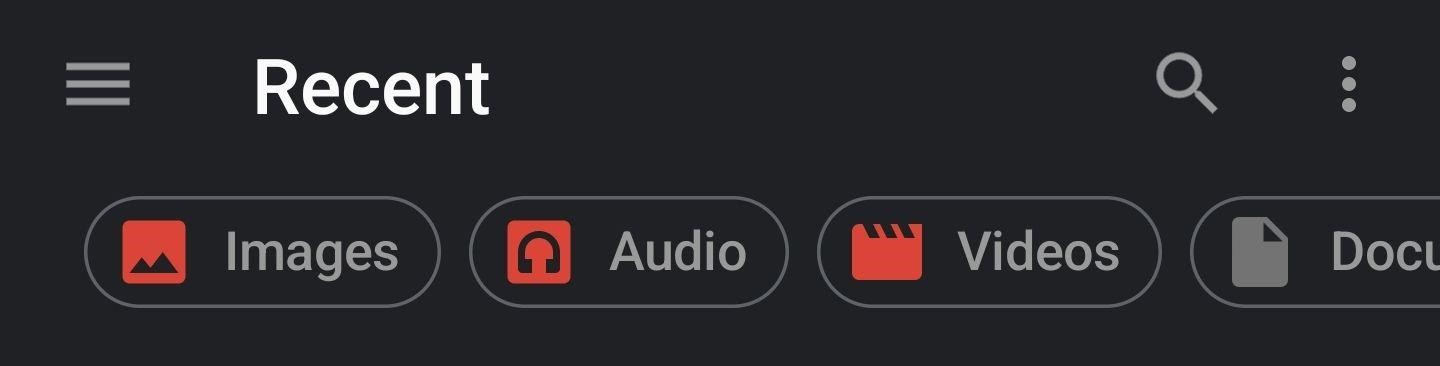
- Depending on the model of Android you use, you may not have a “Recent” folder. If this is the case, in the same file explorer navigate to “Images” (in the above screenshot) and then select the folder titled “Camera”. From here, you can select the image.
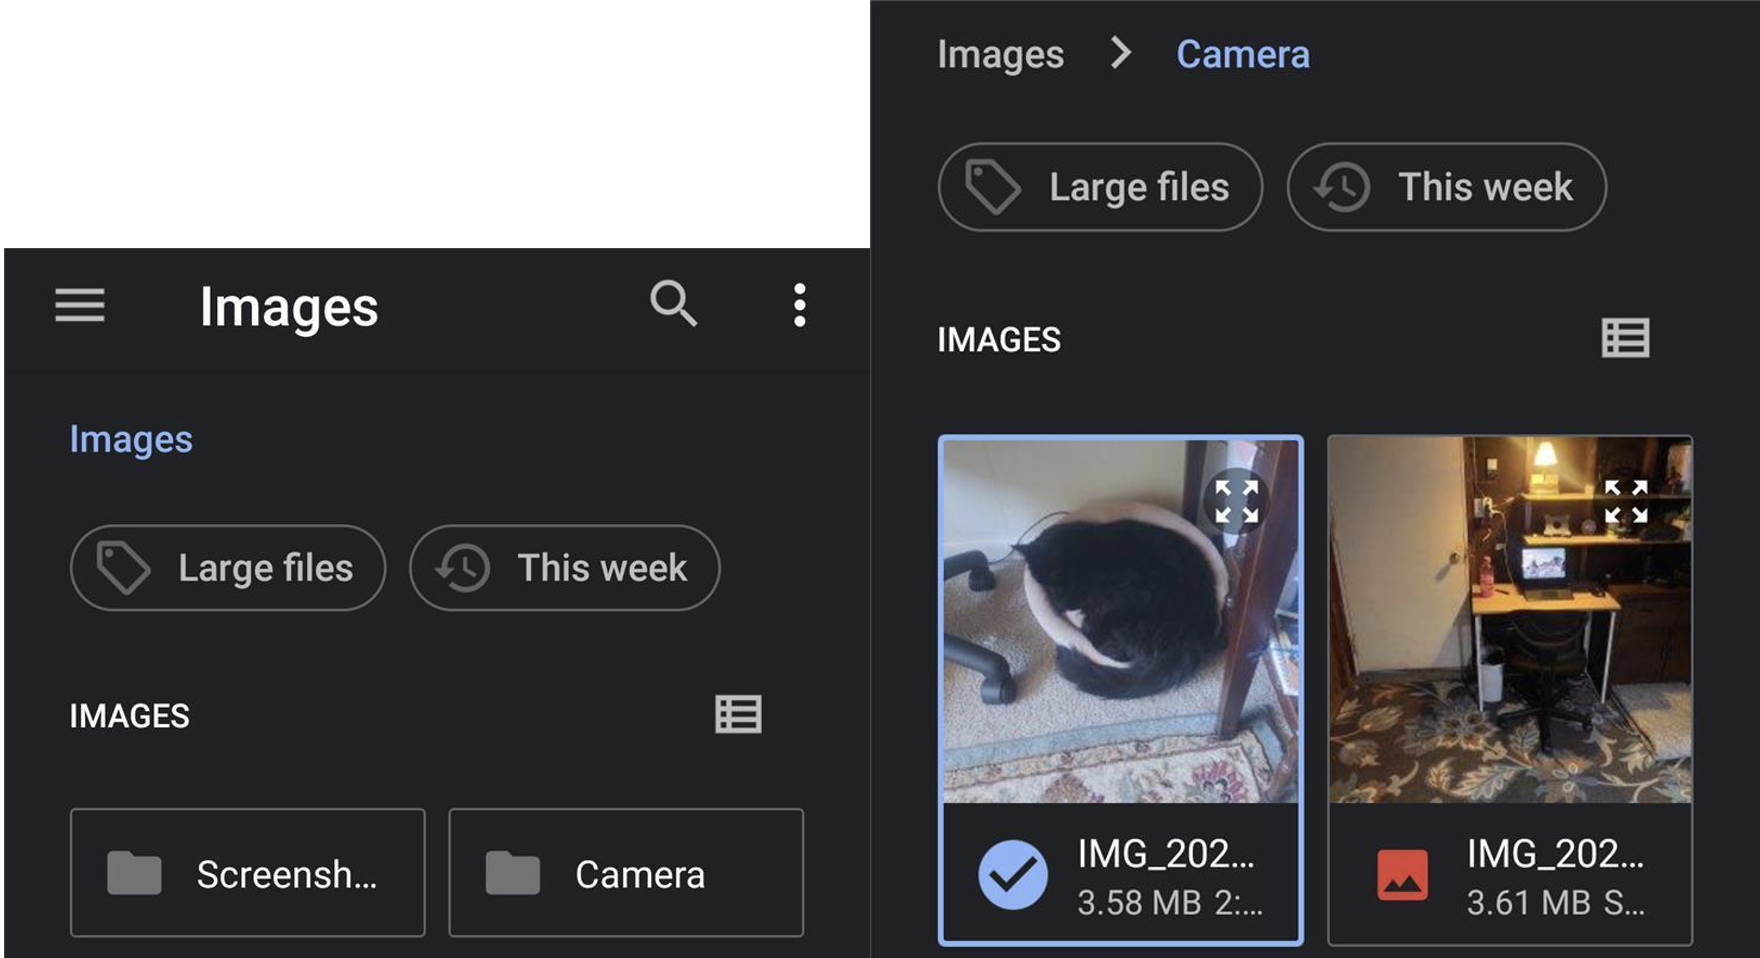
- Note, you can select multiple images by clicking and holding “select”
- Once selected, your files should begin to upload automatically.
VERIFY that all the images uploaded fully before you delete images from your phone.
Uploading Audio During the Event
As time permits between oral histories and/or at the end of the event, ** make sure to upload all the audio recordings you took** to the folder that you have designated for these interviews.
Make sure to track storage space on your phone. Not everyone will have unlimited physical or cloud storage on their devices, so you may need to periodically stop in-between oral history interviews to upload audio files, even if you have people waiting to be interviewed. You can explain to the contributor and guide that you need a moment to upload the file(s). As always, VERIFY that all the audio files uploaded in full before you delete recordings from your phone, especially when freeing up space.
Uploading Android Audio Recordings to Google Drive
- Using the Google Drive app, navigate to the folder where you want to save the file(s).
- Press the “+” icon in the bottom right of the screen.
- Select “Upload”
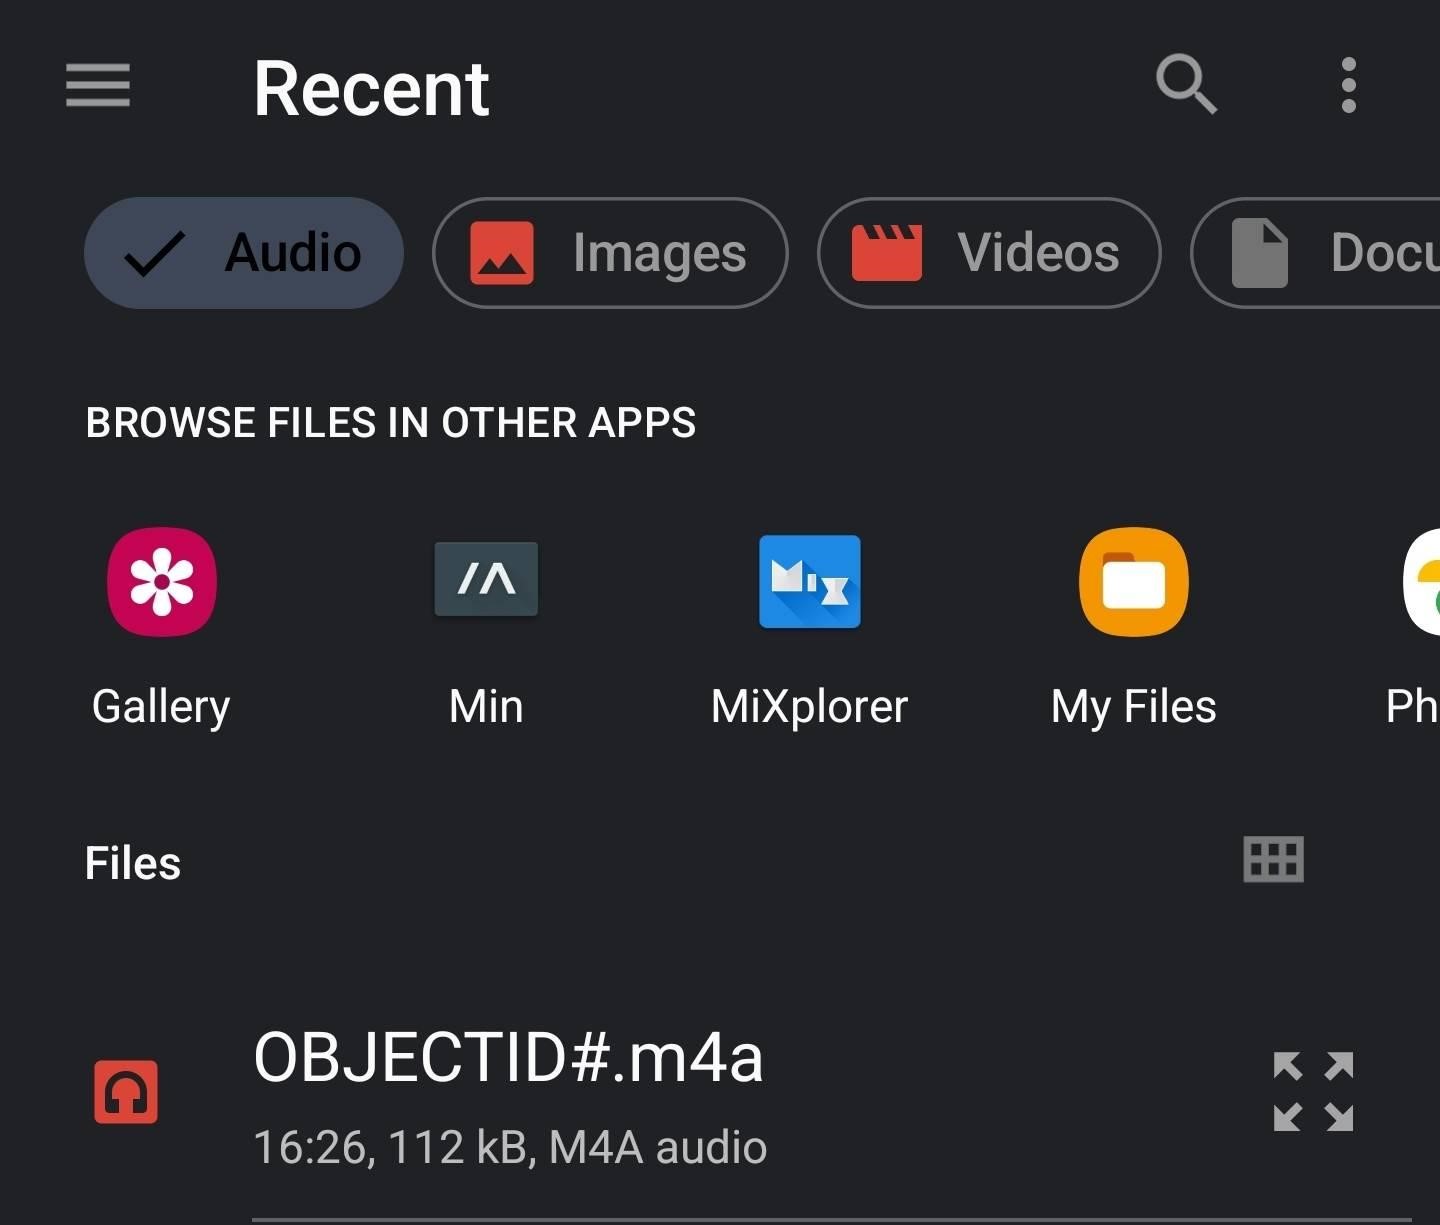
- Using the filters at the top of the Android file browser, select “Audio.”
- Alternatively, you can use the meny in the top left to select “Audio”
- Alternatively, you can use the meny in the top left to select “Audio”
- You should now be able to see your audio recording(s). Make sure that the files are named with the proper Object ID.
- Select the recording(s) and it will begin to upload automatically.
Uploading iPhone Audio Recordings to Google Drive
Note: The process for uploading iPhone recordings requires several additional steps.
- Locate Google Drive
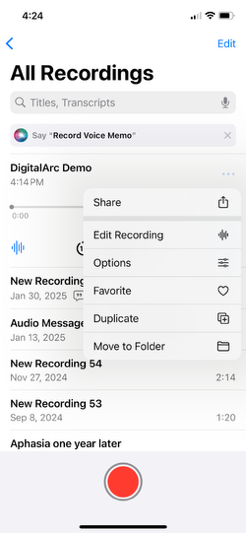
- Open the Voice Memos app.
- Tap on the recording you wish to upload. Make sure the recording is named with the appropriate Object ID.
- Tap the three dots in the upper right corner of your recording.
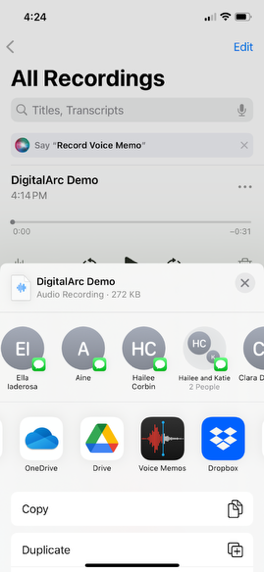
- Select “Share”
- Scroll until you see the icon for Google Drive. If it does not appear, tap “More” and scroll through the listed apps until you locate it.
- Create a Folder in your personal Google Drive
- Select “Folder” at the bottom of your screen. Select “My Drive” and create a new folder by selecting the folder icon with a plus sign (+) on the top right.
- Label the folder with the current date so you can temporarily save all audio recordings in this folder.
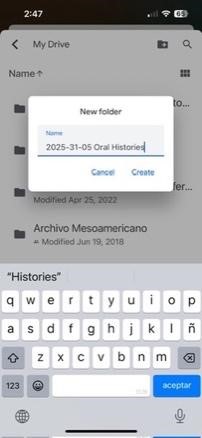
- Click “Create” to finalize the folder
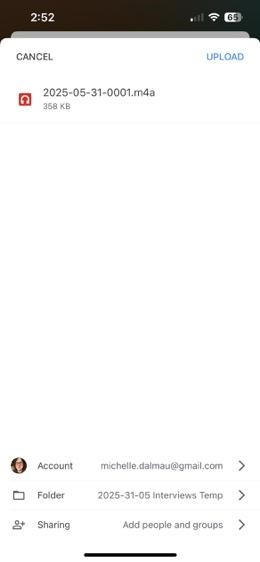
- When uploading your first reording, after you create the folder, you can select “Save here.”
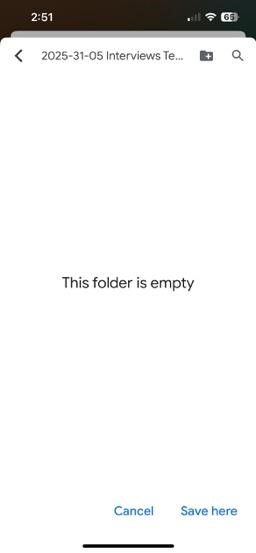
- Select “Upload” and the file will be uploaded to your personal Google Drive account.
- Label the folder with the current date so you can temporarily save all audio recordings in this folder.
- Select “Folder” at the bottom of your screen. Select “My Drive” and create a new folder by selecting the folder icon with a plus sign (+) on the top right.
- Move Audio Recordings to the Project Google Drive
- Open the Google Drive app.
- Locate the audio recordings in your personal Google Drive using the “My Drive” tab.
- You can also search for your folder by name using the search bar.
- Tap the three dots to the right of the file, then scroll down and tap “Move.”
- Tap the “Shared with me” button.
- Search or browse for the project’s folder that has been designated for audio recordings.
- Tap “Move here” on the bottom right of your screen.